We are Figma2html — a passionate and detail-oriented team of designers and developers. From UI/UX to fully functional websites, we craft quality digital experiences with a strong focus on communication, collaboration, and timely delivery. At the core of everything we do is a commitment to excellence and long-term client support.
How to Export Figma to HTML (You Must Know in 2024)
I guess you are very serious about knowing how to convert Figma to HTML. No worries, you are reading the correct blog where you will get the ultimate ideas on how you can export Figma to HTML in an easy way.
However, you may know that Figma has emerged as one of the most popular design and prototyping tools in recent years, catering to the needs of web designers and developers alike. Its collaborative, cloud-based platform has simplified the design process and streamlined collaboration.
What Does It Mean to Export Figma to HTML?
Exporting Figma to HTML means converting your Figma design into the HTML code that forms a web page. Think of it like translating your blueprint into the building blocks of a house. This code is typically in the form of HTML and CSS files, which define the structure and styling of your web page.
Why Do You Need Figma to Export to HTML?
You might ask why you need to export Figma designs into HTML and CSS. There are several compelling reasons:
Interactive Websites
HTML and CSS enable you to create websites with interactive elements like clickable buttons, responsive navigation menus, and engaging user interfaces. These interactive features are impossible to achieve with static design files alone.
Compatibility
Transforming your layouts right into HTML and CSS guarantees cross-browser and cross-device compatibility. It means that your website will certainly function perfectly on different web browsers, such as Chrome, Firefox, Safari, and Side, as well as various display sizes and resolutions. This compatibility is essential for reaching a wider audience.
Improved SEO
Search engine optimization (SEO) is critical to a website’s success. Effectively structured HTML is fundamental to search engine optimization, as search engines like Google can quickly read and index HTML content. It consequently makes it much easier for your internet site to rank higher in search engine results, possibly resulting in increased organic website traffic.
Customization
HTML and CSS give you complete control over your website’s style and design. It suggests you can execute custom styles, formats, and interactive functions that align completely with your brand and vision.
Responsive Design
Responsive website design is no longer a choice; it’s a necessity. HTML and CSS enable you to develop responsive layouts that adjust perfectly to various display dimensions as well as devices. It ensures your site looks and functions perfectly on desktop computers, tablets, and mobile phones, enhancing the overall user experience.
Benefits of Exporting Figma Designs to HTML CSS
Converting Figma designs to HTML and CSS offers a wide range of benefits, making it an essential step in web development. Here are the vital advantages of this conversion:
Customization
With HTML and CSS, you have full control over the design and layout of your website. You can apply customized styles, formats, and interactive features that align with your brand and vision.
Reduced Development Time
Using Figma as a design source can significantly reduce the time required for development. Developers don’t need to recreate the style from the beginning; they can make use of the generated code as a structure.
Cost-Efficiency
Faster development, reduced revisions, and improved collaboration can save costs during web development. It is particularly beneficial for businesses and clients with budget constraints.
Consistency
Converting designs to HTML and CSS ensures visual consistency across your website. Design elements, fonts, colors, and layouts are accurately translated from design files to the web.
Easy Updates and Maintenance
HTML and CSS are easy to edit and maintain. When you need to make design alterations or upgrade your website, you can do so effectively without substantial coding understanding.
User Engagement
Interactive elements created through HTML and CSS, such as forms, sliders, and animations, enhance user engagement and encourage user interaction on your website.
Security
Hand-coding HTML and CSS allows you to implement security best practices. You can protect your website from common vulnerabilities and ensure the safety of user data.
Learn the Process to Export Figma to HTML
Exporting your Figma designs into functional HTML and CSS is essential to turning your creative concepts into fully interactive and responsive websites. These steps of the Figma to HTML CSS conversion process ensure you can seamlessly bring your designs to life on the web.
Step 1: Open Your Figma Design
Converting Figma designs to HTML and CSS begins with ensuring that your Figma design is complete and ready for export. It involves verifying that all design elements, layouts, and interactive components are in place and accurately represent your vision.
Launch Figma
Launch Figma on your computer or access it via your web browser using the web-based version.
Open Your Figma Design File
Once in Figma, open the specific Figma design file that you wish to convert to HTML and CSS. This document ought to include all the design aspects you intend to bring to the internet.
Design Completeness
Before proceeding, carefully review your design to ensure it is complete. Focus on the positioning and design of elements, typography, photos, and any type of interactive part such as controls or navigating menus. Make any needed changes or refinements to your design if needed.
Guaranteeing your Figma style is completely vetted and finalized sets the stage for a smooth conversion process, reducing the probability of mistakes or disparities in the resulting HTML and CSS code.
Step 2: Install the pxCode plugin.
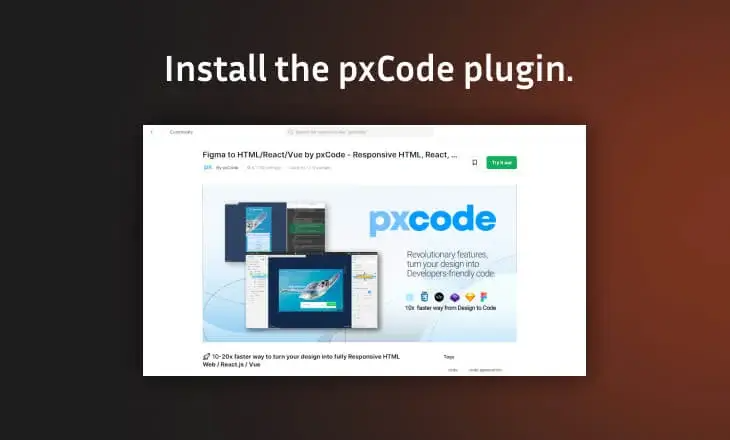
You’ll want to install the pxCode plugin for Figma to simplify and streamline the conversion process.
This plugin was especially created to optimize the export of your layout properties as well as promote the generation of HTML and CSS code. Right, here’s how to install it:
Open Figma
Launch Figma if it’s not already open.
Navigate to the “Community” Section
In Figma, you’ll find a “Community” section that houses various plugins and resources to enhance your design workflow. Go to this part.
Search for “pxCode”
In the plugin’s search bar within the “Community” section, type “pxCode” and hit Enter. This action will initiate a search for the pxCode plugin.
Install the pxCode Plugin
Once you locate the pxCode plugin in the search results, click on it. It will take you to the plugin’s page. Look for the “Install” button and click on it to add the pxCode plugin to your Figma workspace.
With the pxCode plugin successfully installed, you can proceed with the Figma to HTML CSS conversion process. This plugin will optimize your workflow and ensure efficient code generation.
Step 3: Select Frames for Export
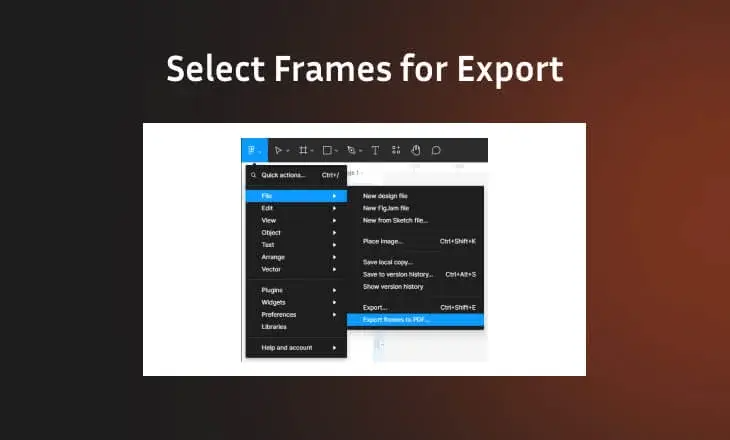
Within your Figma design, you must select the specific frames or components you intend to export to HTML and CSS. These selections can encompass entire web pages, individual sections, buttons, images, and other design elements that you want to bring to life on the web.
Navigate to Your Figma Design
Open the specific Figma design file you wish to convert in your Figma workspace.
Select Frames or Components
Carefully select the frames or components within your Figma design that you want to export as HTML and CSS. These selections should align with the web pages or elements you intend to create on your website. Hold down the Shift key to select multiple frames while clicking on each.
Consider Interactive Elements
Consider any interactive elements you’ve designed, such as buttons, navigation menus, or forms. Ensure that these are included in your selection if they are integral to your web project.
Refine Your Selection
Take a moment to review your selections and make any necessary adjustments. Ensure you haven’t missed any critical design elements that should be part of your web project.
By selecting the specific frames or components within your Figma design, you’re defining the scope of your conversion process. It lets you focus on the elements crucial to your web project, streamlining code generation.
Step 4: Preview in the Browser
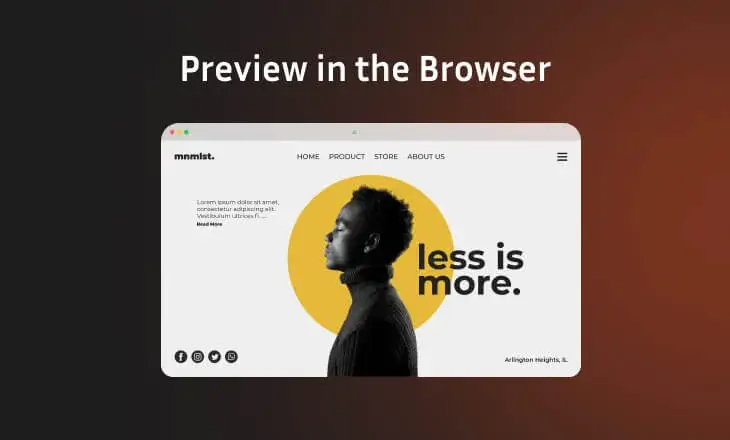
Before proceeding with the export process, previewing your selected frames in a web browser directly within Figma is a good practice. This preview functionality lets you visualize your design’s appearance and behavior in a real web environment. To preview your design:
Select the frames to preview
Click on the frames you’ve selected for export.
Open the browser
After selecting the frames, right-click on the selection. In the context menu that appears, choose “Open in Browser.” This action will launch a web browser window displaying your selected frames.
Inspect the Preview
Carefully examine the preview in the web browser. Pay close attention to the layout, typography, images, and interactive elements. Verify that they appear and function as intended in the web environment.
The browser preview provides valuable insights into how your design will translate to the web. It allows you to identify potential issues or discrepancies early in the process, enabling you to make informed decisions and refinements.
Step 5: Verify the Preview
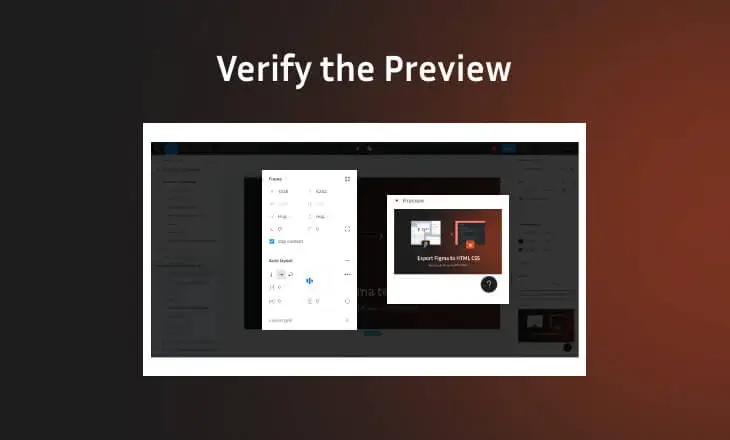
Verifying that your design looks and functions as intended during the browser preview stage is crucial. Here are key aspects to consider while verifying the preview:
Layout and Alignment
Ensure that the layout of your selected frames matches your design concept. Check for proper alignment of elements, margins, and spacing.
Typography
Verify that the typography, including fonts, font sizes, and line spacing, aligns with your design specifications.
Images and Graphics
Examine images, graphics, and icons to confirm that they are displayed at the correct sizes and that there are no visual discrepancies.
Interactive Elements
If your design includes interactive elements such as buttons, hover effects, or dropdown menus, test their functionality to ensure they respond as expected.
Responsiveness
If you’ve designed your frames to be responsive, resize the browser window to different dimensions to check how your design adapts to various screen sizes.
Consistency
Confirm that your design maintains consistency in colors, styles, and branding elements across the selected frames.
By meticulously verifying the preview, you can catch any design-related issues early in the process. Addressing these issues at this stage helps ensure your HTML and CSS code accurately represent your design vision.
Step 6: Get the Code
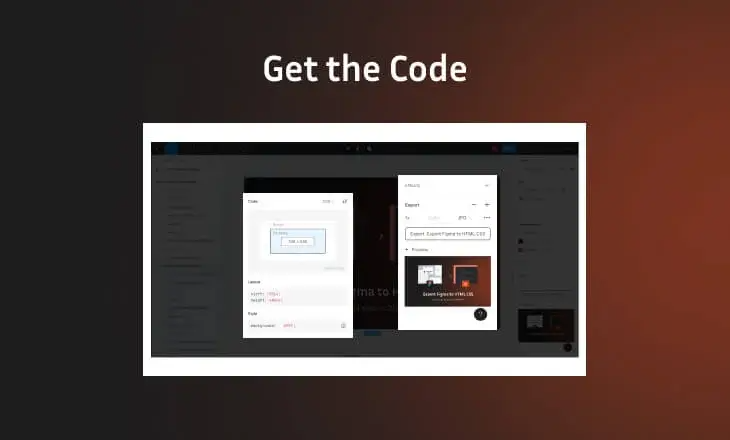
Once you are satisfied with the preview and confident that your design is ready for conversion, you can generate the HTML and CSS code for your design elements. Here’s how to proceed:
Select the frames or components for export
Click on the frames or components you chose for export within your Figma design.
Initiate Code Generation
After selecting your frames, right-click on the selection to open the context menu. Choose “pxCode” from the menu and select “Figma to HTML by pxCode.”
The pxCode plugin will now kickstart the code generation process, transforming your selected frames into HTML and CSS files that can be used for web development.
Step 7: Configure Export Options
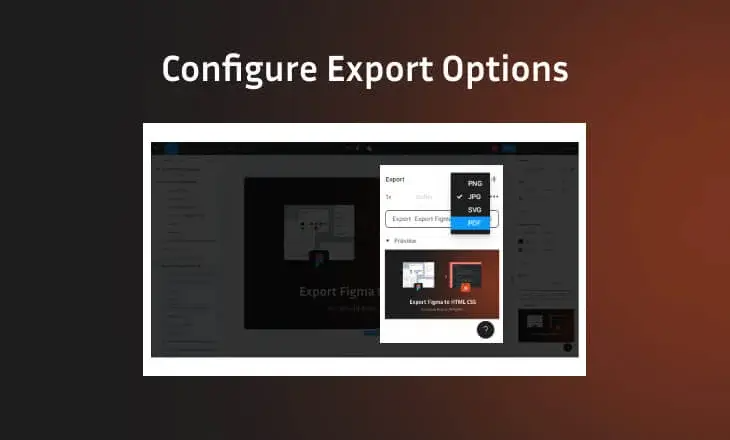
In the pxCode dialog box that appears, you can configure various export options. These options allow you to fine-tune the code generation to match your project requirements. Key export options may include:
Asset Scale
This option allows you to choose the scale at which your design assets, such as images and icons, will be exported. Selecting the appropriate scale ensures that your assets match your desired resolution.
Download All
Choosing this option will initiate the export of all the frames you’ve selected for conversion. It’s ideal when you want to export your entire design or a comprehensive section of it.
Download Selected
This option will export only the currently selected frame or component within your Figma design. This level of granularity is useful when you need to export specific elements individually.
The pxCode plugin will now kickstart the code generation process, transforming your selected frames into HTML and CSS files that can be used for web development.
Step 8: Export the Code Package
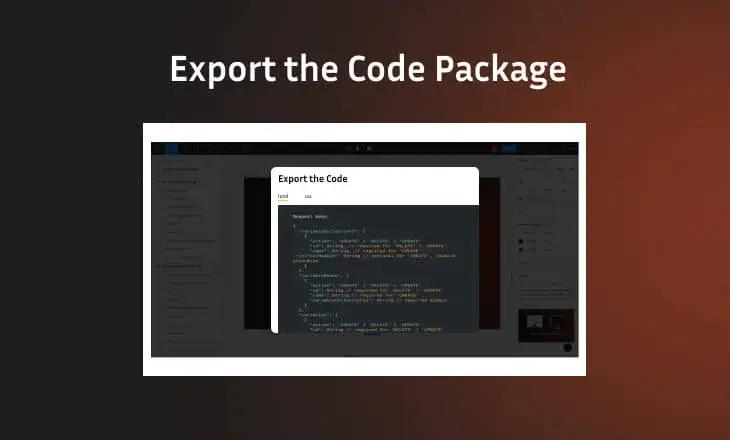
With your export options configured to your satisfaction, initiating the code generation process is time-consuming. Click the appropriate export option within the pxCode dialog box to do so. Depending on your selections, pxCode will generate your design’s HTML and CSS code.
The code generation process may take a few minutes, depending on the intricacy of your layout and the variety of frames or elements you have actually chosen to export. As soon as the procedure is done, you will obtain a code package in a pressed ZIP layout.
Step 9: Unzip and explore
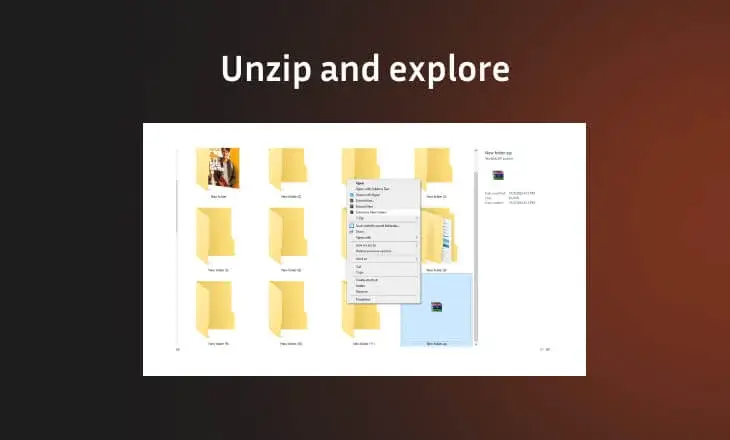
Upon completing the export process, you can access a code bundle with your design’s HTML and CSS data. To access these documents and check out the code, follow these steps:
Locate the code package:
Navigate to your computer’s location where the code package was saved. Commonly, this bundle will remain in ZIP format and might have a name pertaining to your Figma task or design.
Unzip the Package
Right-click on the ZIP file and choose “Extract” or “Unzip” the contents. This activity will certainly compress the plan, revealing the HTML and CSS files.
Explore the Contents
Once unzipped, you will have direct access to the HTML and CSS files generated by pxCode. You can explore these files using a code editor to review, customize, and refine the code.
By unzipping the code package and exploring its contents, you gain access to the core components of your design’s code. This step is crucial for further customization and integration into your web development project.
Conclusion
Exporting Figma designs to HTML and CSS is essential for turning your design concepts into fully functional websites. It enhances interactivity, compatibility, and SEO optimization while giving you control over the design and layout.
The pxCode plugin for Figma simplifies this process, offering control, flexibility, and developer-friendly code generation.
Following the step-by-step overview described below, you can effortlessly change from design to code, bringing your web projects to life.
If you intend to create interactive and responsive websites from your Figma layouts, pxCode is a valuable tool in your web development collection.
With its support for Figma and a focus on developer-friendly code, you can transform your designs into compelling web experiences.
FAQs
You can export Figma designs to HTML and CSS using tools like the pxCode plugin. This process involves selecting specific frames or components from your Figma design, configuring export options, and generating HTML and CSS code for web development.
To export CSS code from Figma, you can use plugins like pxCode. After installing the plugin, select the frames or components you want to export, right-click, and choose the appropriate export option. pxCode will generate CSS code along with HTML for your design elements.
One of the popular Figma plugins for exporting Figma designs to HTML and CSS is pxCode.
Access your WordPress dashboard by entering your credentials.
Most likely to “Media” or “Media Library” on the left-hand food selection in the dashboard.
Select the “Add New” button on the Media Library web page.
Click the “Select Record” switch to open your computer system’s data browser. Place the data you wish to import and also choose it.
After choosing the data, click the “Open” or “Select” switch in your data browser. WordPress will surely start publishing the data to your Media Library.
You can include titles, alt text, summaries, and other details in your files by clicking them in the Media Library.
To use these documents in your blog posts or pages, modify the message or web page where you wish to put them. Click the “Include Media” button within the blog post editor, choose the data from your Media Collection, and click “Place into the article” or a comparable switch.
You can develop folders or galleries to organize your media and gain access to it.


